When you launch Road Trip for the first time you'll see the Trips screen. A Trip is the basic "document" of Road Trip – it is a group of people (the Participants), who are sharing the cost of multiple transactions (the Events), and eventually square up the costs by making Payments to each other. The first thing you need to do is create a new Trip by tapping the plus button in the upper left.

Note that these images all show an iPhone 5S. The iPad screens are different but have all the same functions.
That will create your first Trip and open the Trip Details Screen. Go ahead and enter a name for the trip. (We'll use "The Big Music Festival" in this example".)
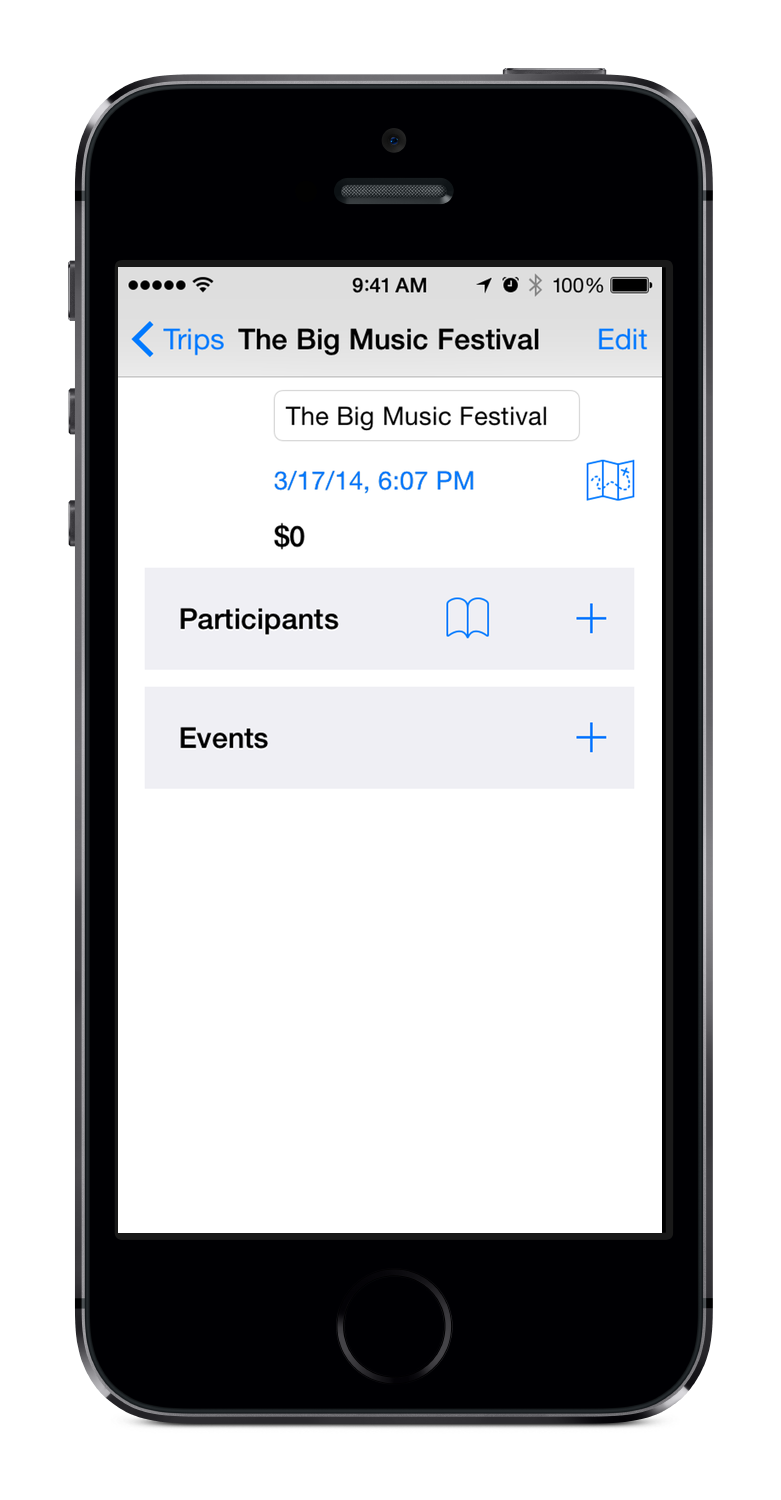
The next thing your trip needs is some Participants to go on these fun Events! At this point you can either tap the book button to look up people in your Contacts or the top plus button to create a new Participant.

Note there's a camera button here. You can use that to either assign a picture to this Participant or to take a new picture.
For our tutorial I'll add Alice Albertson, Bob Baker, and Charlie Charles so that we have three people in the car on the way to our music festival.

Now that we have Participants we need some Events. Tap the bottom plus button to create a new Event. If this is your first time running Road Trip it may stop and say it would like to use your current location. If you tap "OK" then your events will be location tagged and can be seen on the map. If you would like to later change the location authorization you may do so in the Settings app in the Road Trip section.
Road Trip only uses your location information when a new event is created and that information is only stored in the Trip data, it is never shared with anyone else. In a similar vein Road Trip may ask to access your Contacts so you can add your Contacts as Participants and it may ask to access your Photos so you can attach them to Participants or Events. In all of these cases this data is only stored in your Trip data and is never shared with anyone.
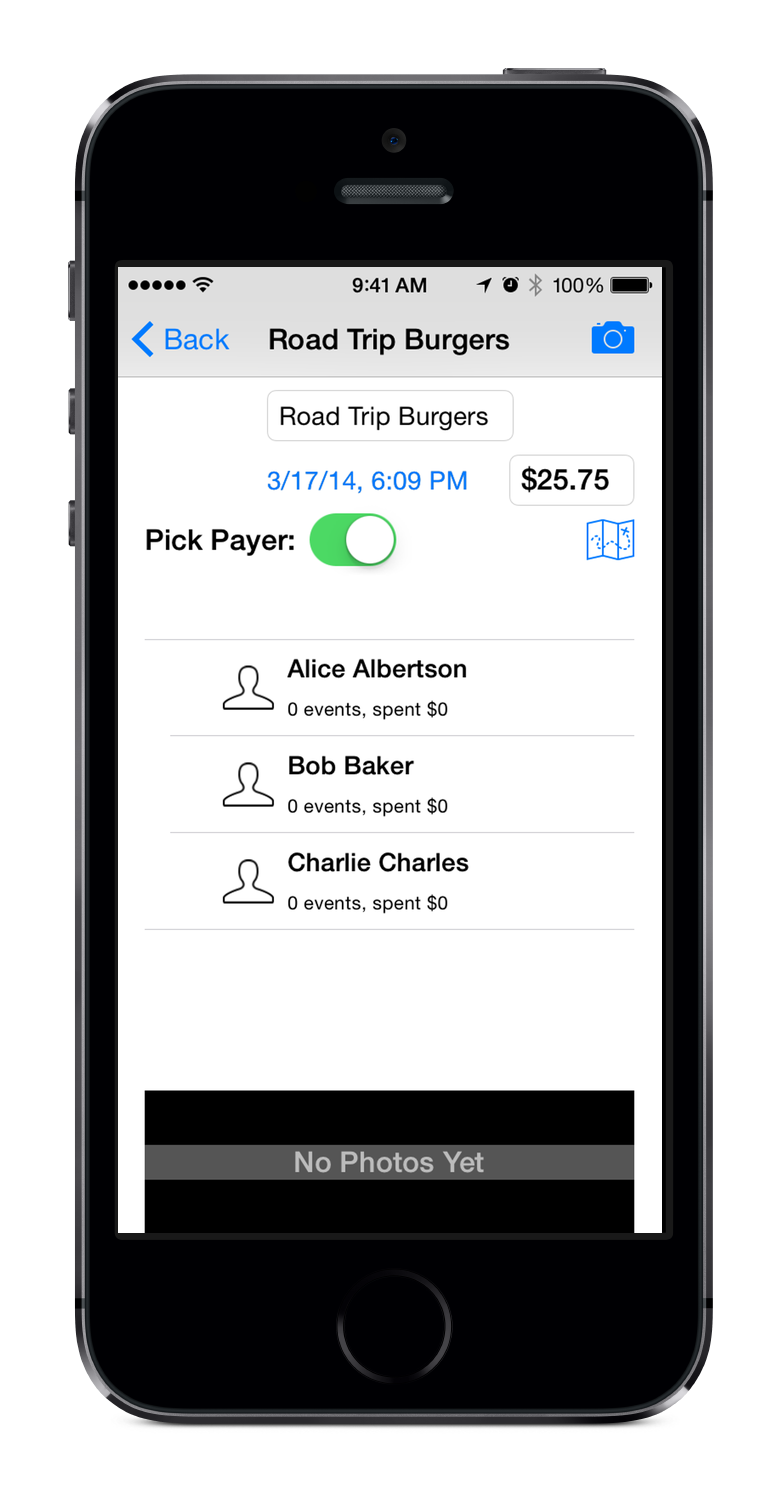
In the Event detail screen fill in the event name and the cost of the Event. Once that is done you need to tap the Participants who are at this event. Note that the "Pick Payer" switch is set to on right now. The first Participant you tap will become the Payer for this Event. You can change the Payer later by tapping this switch again and tapping a different Participant. You can tap the date to change when the Event took place, and you can tap on the Map button to see the Event's location. You can also tap the Camera to take new photos or attach existing photos to the Event.
In our tutorial Bob picked up the check for the burgers so first I enter the "Road Trip Burgers" for the name and that they spent $25.75 in this Event. Then I tap Bob first so he becomes the Payer. I'll tap Alice and Charlie since they both ate burgers as well.

Notice that as you tap Participants and more people take part in an event the amounts they have spent changes. Road Trip assumes all Participants in an Event are splitting the cost even though only the Payer actually paid the check. If this is not correct you can fix that in the next screen.
Bob has a green stack of money next to his name indicating that he is the Payer. Alice and Charlie both have the group of people with a check mark indicating they took part in this event. Since Bob paid the $25.75 Alice and Charlie both owe Bob $8.58 for their burgers. But Charlie was extra hungry so he had a slice of pie. Alice and Bob didn't have dessert so Charlie should pay more than either Alice or Bob. If I tap Charlie it toggles whether he attended this Event. But if I tap the blue Info button or the gray chevron to the right of Charlie's name I can open a new screen, the Custom Share screen.

Here I'll put in the $2.50 that the pie cost and leave the Normal Share switch on. What happens now is that Road Trip subtracts the $2.50 for Charlie's pie from the total $25.75 cost. This changes the normal share Bob and Alice are paying from $8.58 to $7.75. Charlie now owes Bob the normal $7.75 share (for his burger) plus the $2.50 for pie. Sure enough now Alice owes $7.75 but Charlie owes $10.25. I know that's all a bit complicated, but that's the great bit: Road Trip does all this math for you.
What if Charlie hadn't been hungry and had only had the pie? I could have turned off the Normal Share switch in this screen and Charlie would only owe the $2.50 for his pie. If this had happened Bob and Alice would split the rest of the check evenly and Alice would owe $11.62.
In our tutorial Alice also bought a tank of gas for $46.11 at the roadside stop and all three Participants split the cost of that. I entered that event and now we can go back to the Trip detail screen and tap Bob's name.

Bob's share of the gas tank is $15.37 but recall that Alice owes him $7.75 for her burger. Road Trip cancels these out and therefore Bob owes Alice $7.62. Charlie still owes Bob the $10.25 for his burger and pie (and Charlie also owes Alice $15.37 for gas which isn't displayed on Bob's screen. If we had a third event it would make sense for Charlie to pay for that.)
For our tutorial we'll only enter these two Events. How do we settle up all of these debts? It's very simple. Here in Bob's screen it says he owes Alice $7.62. I'll go ahead and tap that row.

Here I've changed the Payment description to "Paying Alice For The Gas". Road Trip defaulted the value to $7.62 which is what we want here. Bob gives Alice the $7.62 and now they are square for the Trip.
Let's go back and look at the Trip screen to see where everyone stands.

Alice and Bob both spent equal amounts on burgers and gas at $23 each. Charlie had that pie so he spent $26 (this screen rounds to dollars, so that $2.50 for pie looks like $3 here. If I go back into the events it's accurate to the penny, just not displayed here at the top.) The numbers at the right are how much each Participant is owed (if the number is in black) or owes others (if the number is in red). You can see that Charlie didn't pay for anything yet so that $26 is still owed. He owes $15 to Alice (for the gas) and $10 to Bob (for the burger & pie). If I went into Charlie's screen it would only take a couple of taps for Charlie to make those Payments and we would see black $0's for everyone.
That's it! There are still more things to explore in Road Trip – you can attach photos to Events, Participants and even set a "Key Photo" for the Trip. There's also a Trip map where you can see all of the Events and move the pins if the location recorded is incorrect or if you turned off Location Services. But hopefully this tutorial explained enough to use the basic features. If you still have any questions please use the contact link above to let me know and I'll attempt to address them.